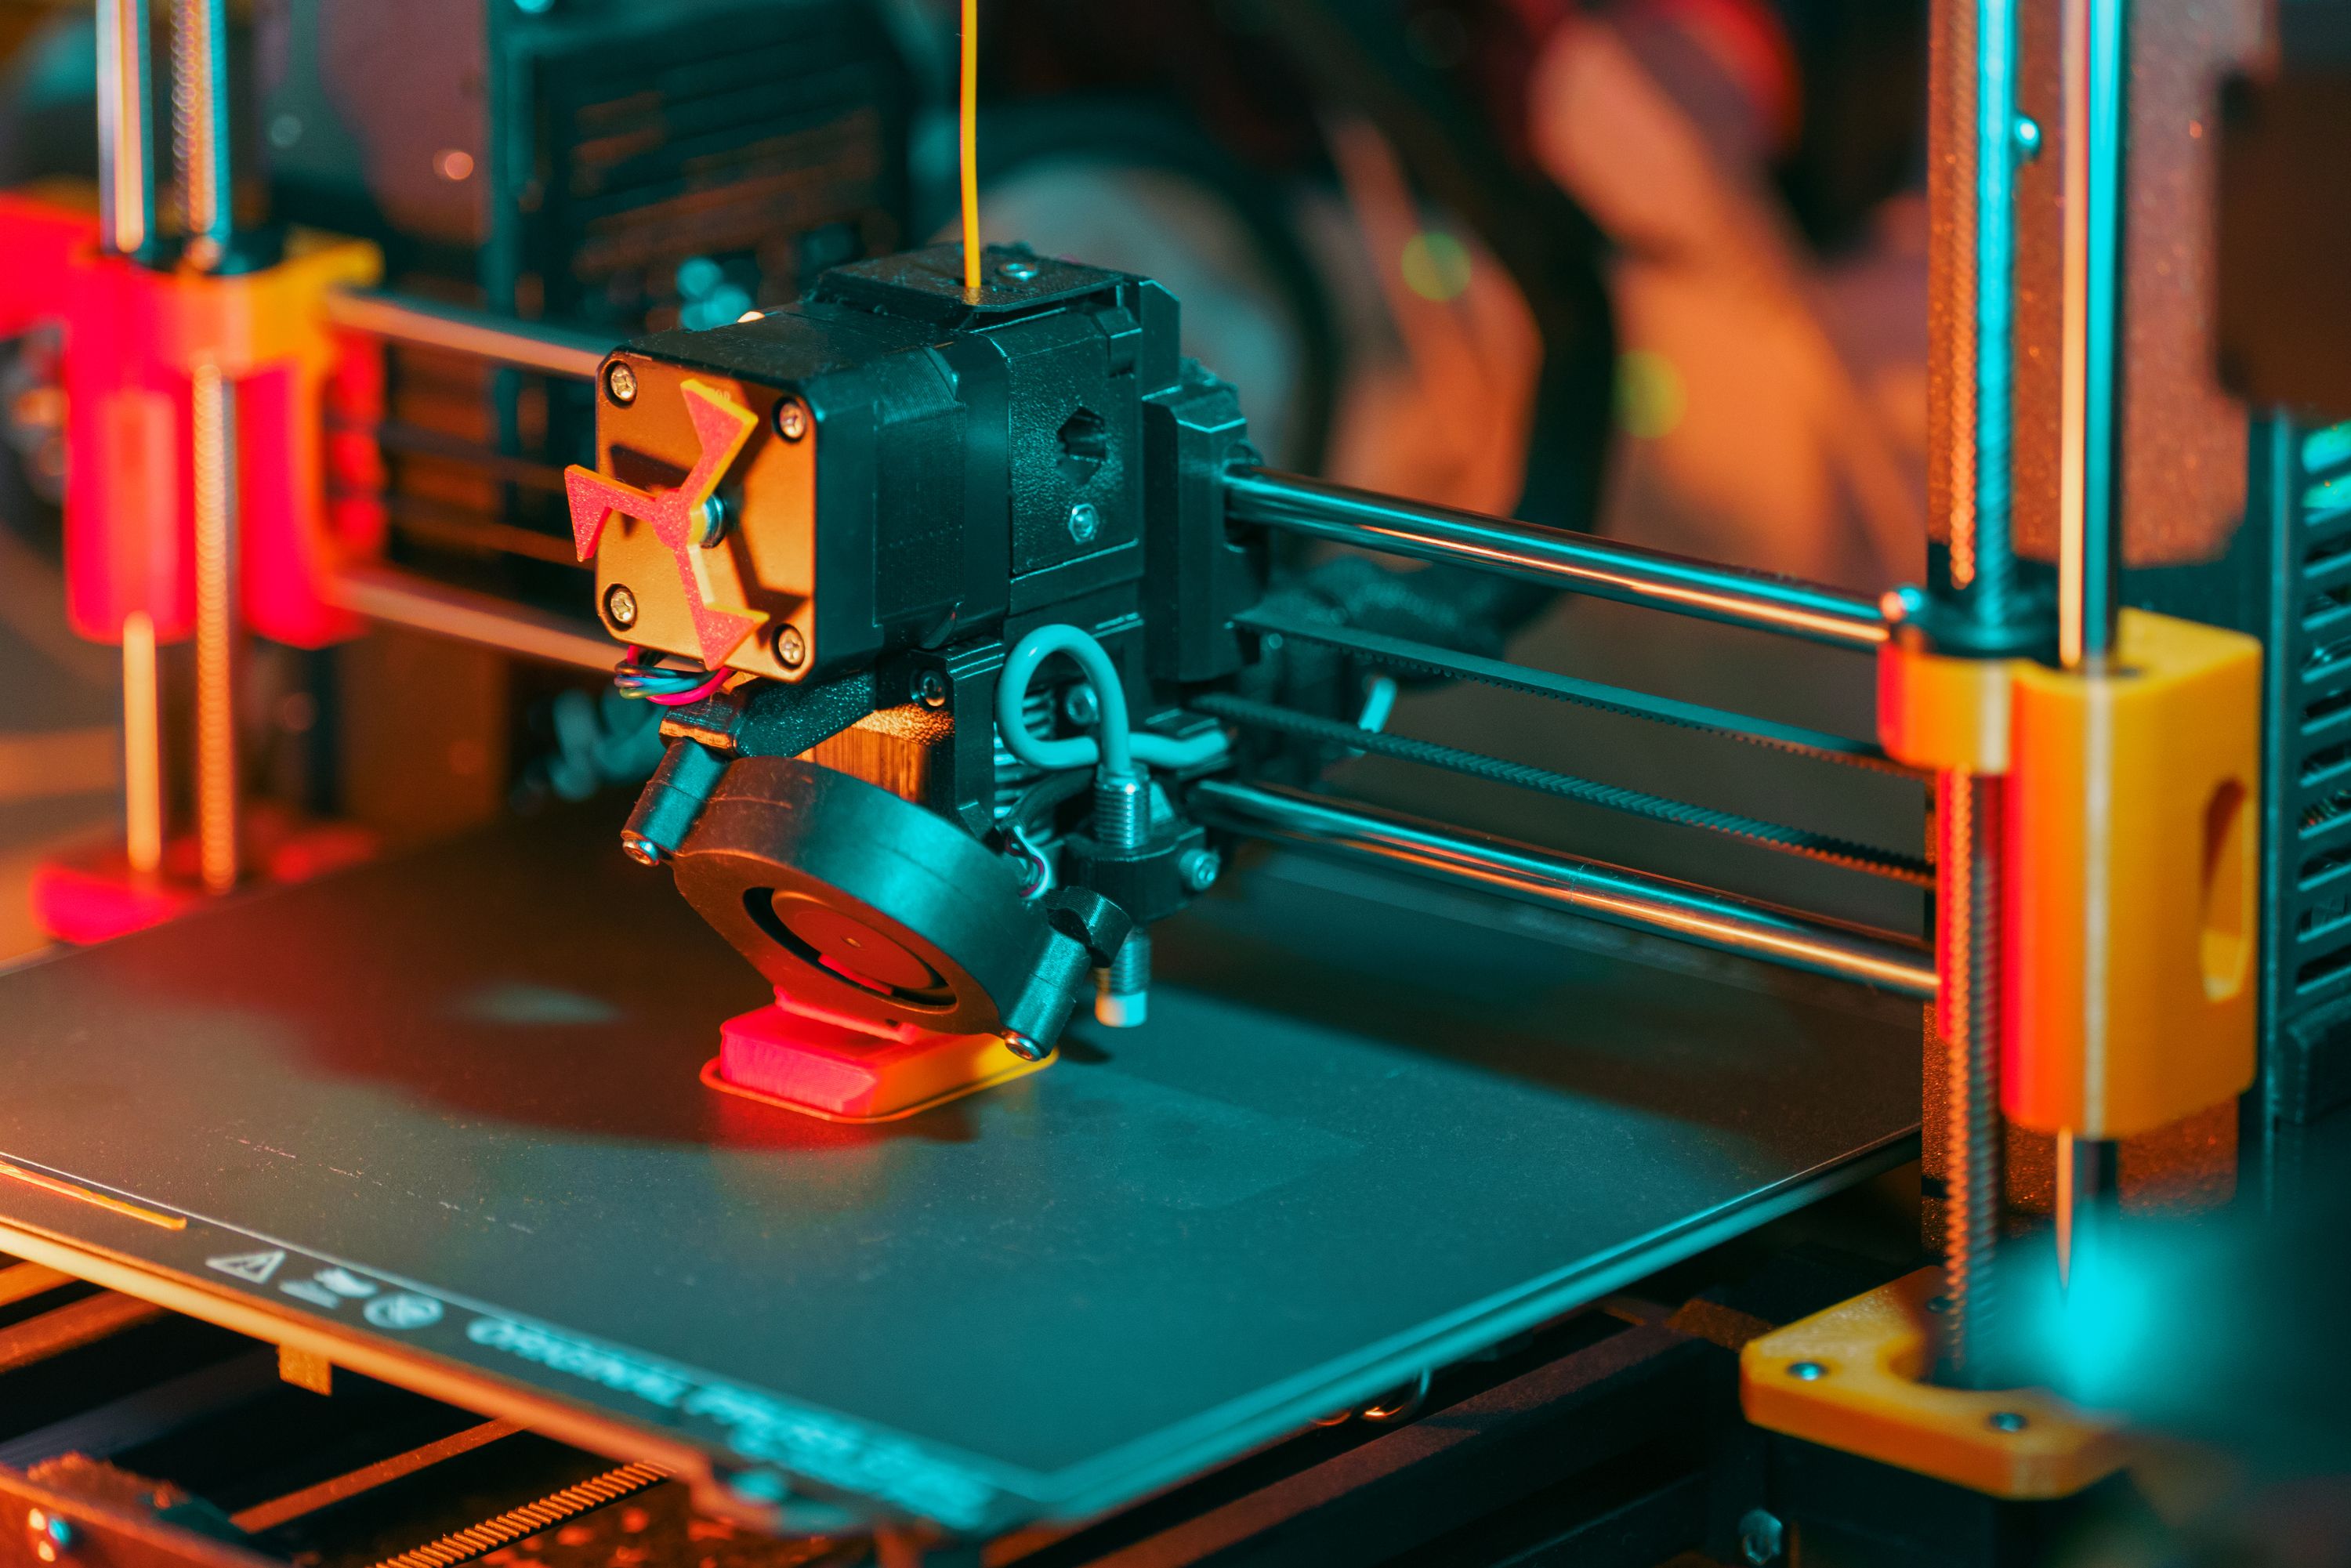
Most ambitious 3D-printing projects end with something that sits on a shelf. OpenFlexure ends with an instrument that can inspect slides, automate focus and scan samples.
The OpenFlexure Microscope is an open-source optical microscope built around a mostly printed mechanical stage. You can pair it with inexpensive webcam optics, a Raspberry Pi camera or proper RMS-threaded microscope objectives. Motorized versions add three geared stepper motors for sample positioning and focus.
This is not a one-evening trinket. It is a serious maker build with electronics, optics, careful calibration and a parts list that must be read before the printer starts. That is precisely what makes it interesting.
The clever bit is not the lens
Microscopes need tiny, repeatable movements. Printed rails and sliding parts usually bring friction, play and rough surfaces. OpenFlexure avoids much of that problem with flexible plastic mechanisms built into the main body. The structure bends by a controlled amount instead of asking rough printed parts to slide against one another.
The project says its motorized stage can make steps below 100 nanometers and remain stable within a few microns over several days. Peer-reviewed work on the related OpenFlexure Block Stage also demonstrated sub-100-nanometer positioning. That does not mean every home build will deliver identical performance, but it explains why this design is more than a novelty with a camera attached.
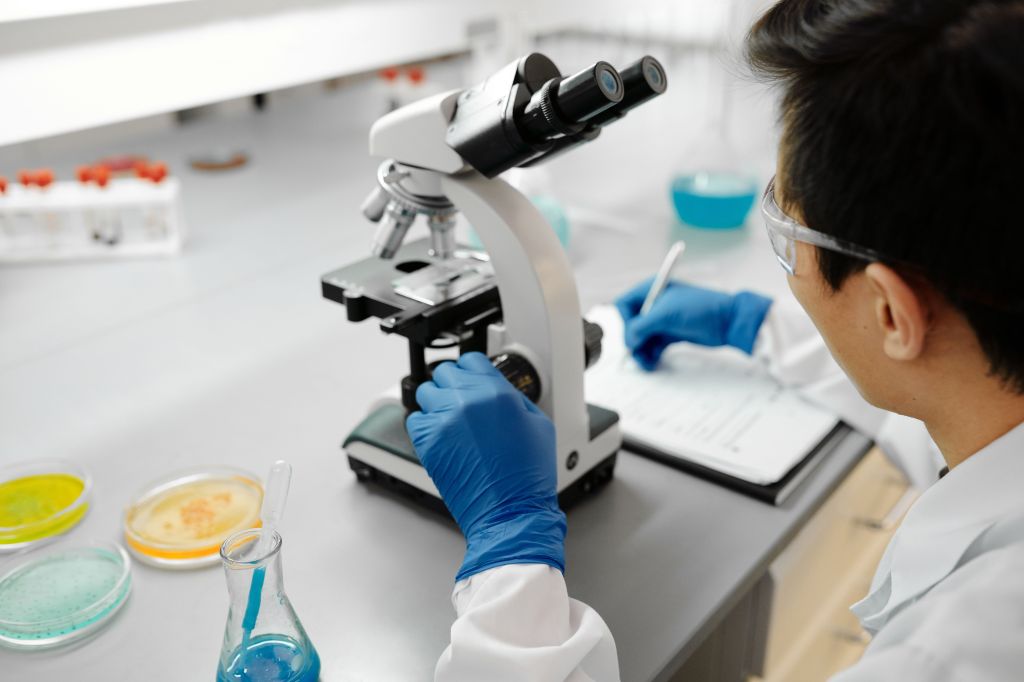
Pick the version before printing anything
The current OpenFlexure v7 documentation offers four main paths. They share the same basic idea but lead to very different shopping lists.
- High-resolution motorized: The most tested research configuration, using a standard RMS objective, Raspberry Pi hardware and automated motion.
- Low-cost motorized: Reuses the lens from a Raspberry Pi Camera Module v2. The project compares its field of view and resolution to a conventional 20x objective.
- Upright motorized: Places the objective above the sample for things that cannot be flipped upside down.
- Manual: Uses thumbwheels instead of motors. You lose autofocus and automated scanning, but the build becomes a simpler introduction to printed scientific hardware.
For a first build, the manual or low-cost optical version is the sensible way to prove your printer and assembly skills. The high-resolution configuration earns its complexity only if you need laboratory objectives and automated imaging.
What the high-resolution build asks for
The official beta5 bill of materials calls for roughly 400 grams of PLA, including 20 grams of black PLA for the optics module. The recommended slicer setup is ordinary by current hobby standards: a 0.4 mm nozzle and 0.2 mm layers.
One rule is unusual and absolute: do not print the mechanism with supports. The project warns that supports can damage the flexure mechanism. A brim is recommended where a part does not already include one, and the main body STL has a custom brim built in.
The plastic is only the beginning. The high-resolution motorized configuration lists a Raspberry Pi 4, Camera Module v2, three 28BYJ-48 geared stepper motors, a motor-control board or documented workaround, a power supply, lenses, an RMS microscope objective, fasteners, O-rings and illumination hardware. Component availability and prices vary, so source the electronics and optics before committing several hundred grams of filament.
Spend five grams before spending a weekend
The smartest step in the build guide is a pair of tiny calibration parts. OpenFlexure supplies a leg test and a nut-trap test that use about five grams of PLA. They check bridging, the custom brim and whether an M3 nut seats correctly without crushing the print.
Print those first. If the bridge sags or the nut trap fails, fix the slicer profile before starting the large monolithic body. This is the sort of boring preparation that saves a long print from becoming colorful recycling.
The current v7 build is still beta
As checked on October 13, 2026, the project recommends v7 even though it remains in beta, and its current build link resolves to v7.0.0-beta5. The v7 documentation highlights enclosed wiring, standardized hardware, improved illumination mounting, stronger camera-platform features and a bill of materials with rendered diagrams.
Beta status still matters. Download every STL from the same release, use that release’s bill of materials and resist mixing a convenient v6 tutorial into a v7 build. Check the project’s issue tracker and forum before buying parts because small hardware revisions can invalidate a nearly correct shopping cart.
Who should build it
OpenFlexure makes sense for patient makers, educators and researchers who want an inspectable, repairable instrument. It is also a beautiful lesson in designing around the strengths of fused-filament printing. The one-piece flexure body asks the printer to make geometry that would be awkward to machine, not to imitate a polished metal rail badly.
It makes less sense if you simply need a microscope tomorrow. Buying optics, electronics and specialty hardware can erase the apparent bargain, and a successful print is only the start of assembly and calibration. This is a project for somebody who wants to understand the machine as much as use it.
The verdict
There are easier ways to magnify a bug. There are not many better ways to turn a desktop printer into legitimate scientific equipment. Start with the five-gram tests, choose one configuration, lock every file and part to the same beta release, and treat the build guide as carefully as you would a wiring diagram.
Sources
- OpenFlexure Microscope overview
- Official v7 build page and version guidance
- OpenFlexure v7.0.0-beta5 assembly documentation
- High-resolution microscope bill of materials
- Official printer settings and calibration tests
- Peer-reviewed OpenFlexure Microscope paper
Image credits
Featured photo: Jakub Zerdzicki via Pexels. Inline photo: Edward Jenner via Pexels. Both were available under the Pexels license when this draft was prepared.

